If your bathroom makes you sigh every morning, that’s a sign—not a sentence. A smart, step-by-step bathroom remodel can turn a dated space into something calm, efficient, and a little bit “spa,” whether you lean into a diy bathroom remodel or bring in pros for the complex parts.
Most homeowners (and small business owners) in Albuquerque want a fresh bath, but get stuck between budget, time, and unknowns—permits, waterproofing, tile layout, and “what do I do first?” That uncertainty stalls momentum. Let’s replace it with a simple sequence you can follow—DIY where it’s safe, hire where it matters.
How to remodel a bathroom without the chaos
A clean process saves money and stress. Below is the step by step bathroom remodel flow we use on projects across New Mexico—simple enough for planning, detailed enough to avoid rework.
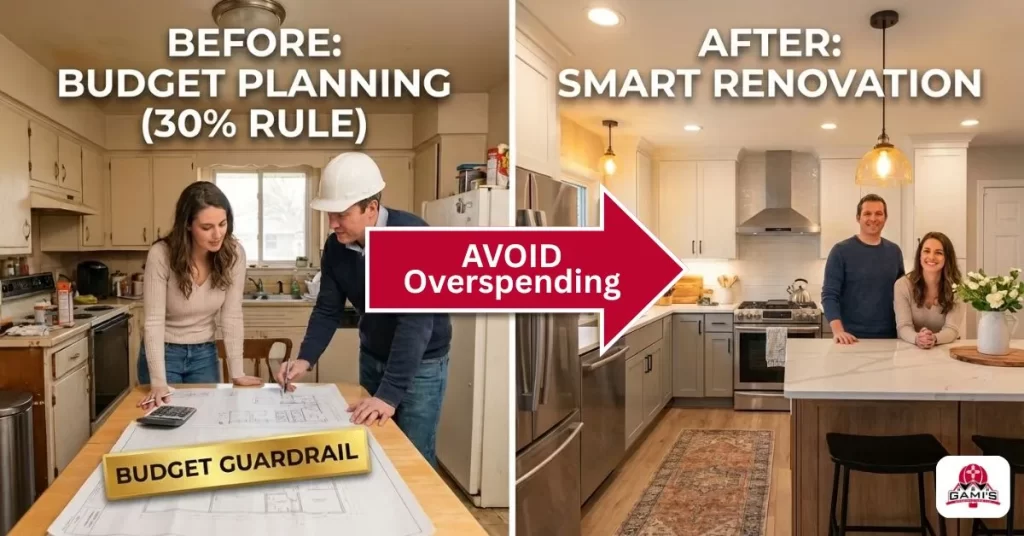
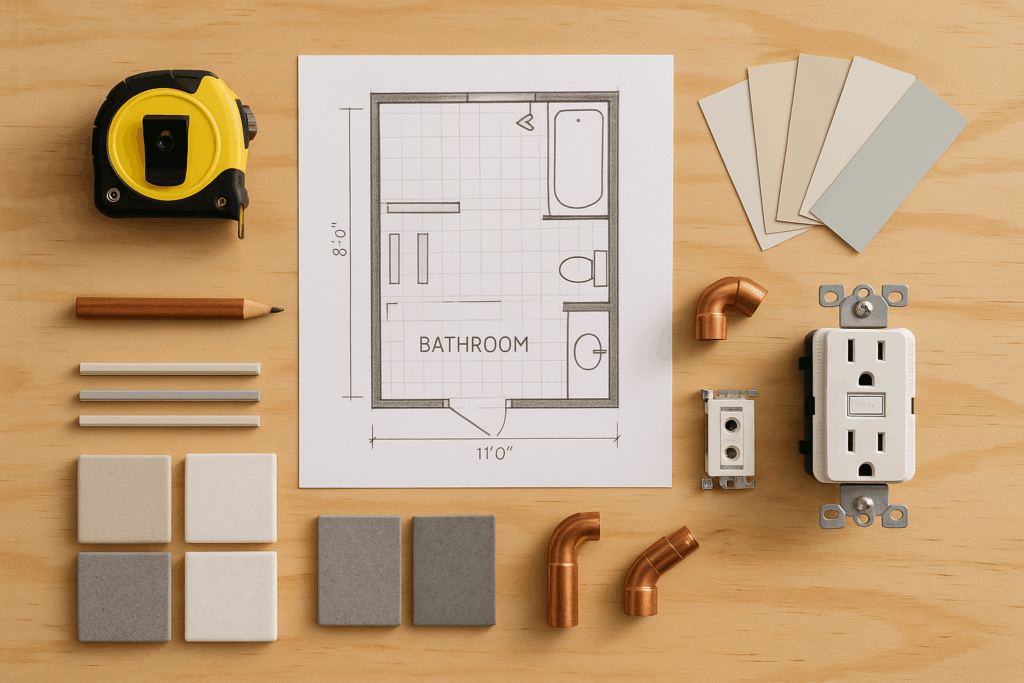
1) Plan, budget, and map utilities (don’t skip this)
Goal: align vision, scope, and spend before tools come out.
-
- Measure & layout: note door swings, clearance around the toilet, shower size, and ventilation path.
-
- Decide finishes early: tile size/pattern, vanity width, mirror/medicine cabinet, lighting layers.
-
- Utilities map: mark supply lines, drain locations, and wiring runs. Changes here drive cost/time.
-
- Budget guardrails: split into must-haves (waterproofing, ventilation) and nice-to-haves (heated floors).
-
- Permits: electrical and plumbing often require permits—check with the City of Albuquerque before you start.
-
- Order of ops: demo → rough plumbing/electrical → waterproof → tile/floor → paint → vanity/cabinets → lights → fixtures/hardware. (bathroom remodel DIY)
Local tip: Albuquerque is dry—prioritize sealed grout, quality caulk, and a proper shower pan build to prevent water loss and hidden leaks.
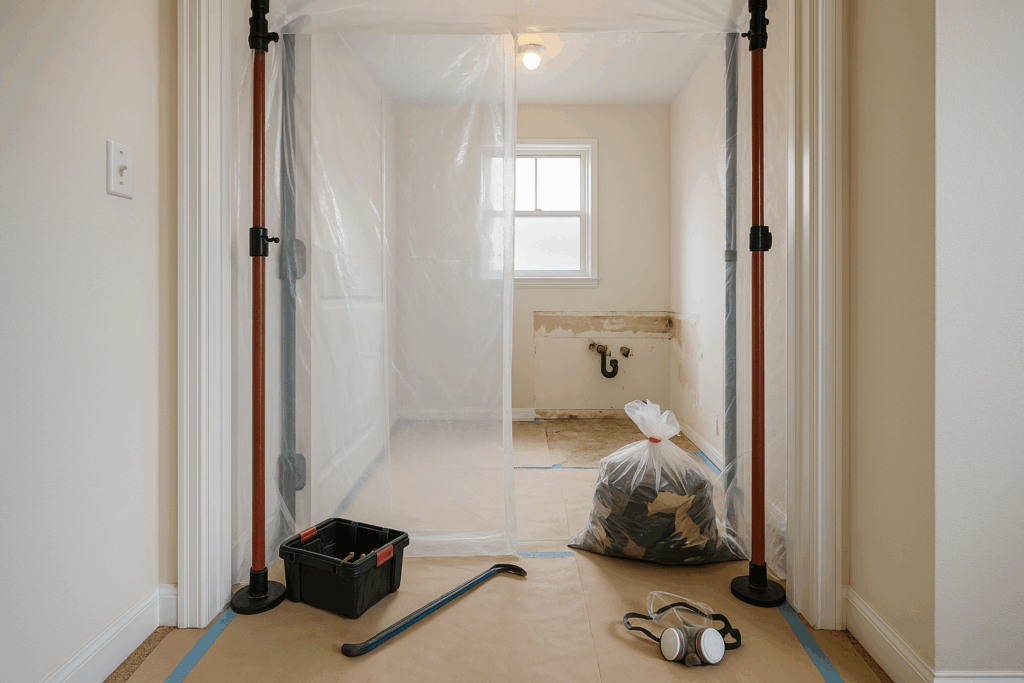
2) Smart demo & prep (DIY-friendly if you’re careful)
-
- Shut off water at the supply and verify.
-
- Protect what stays: doorway, floors outside the bath, HVAC returns (dust control).
-
- Remove in order: vanity and mirror → toilet → baseboards → tile/walls as needed.
-
- Subfloor check: look for rot around the toilet flange and in shower areas; replace before moving on.
-
- Disposal: rent a bin or schedule haul-off to keep jobsite clean and on-track.
3) Rough-in & waterproofing (often a “hire-this” phase)
-
- Plumbing: set shower valve height, relocate drains if converting tub-to-shower, confirm slope.
-
- Electrical: add GFCI outlets, stitch in vanity/task lighting, consider a quiet exhaust fan.
-
- Board & membrane: cement board (not drywall) in wet zones + a waterproofing membrane. This is the difference between a remodel that lasts and one that doesn’t classic bath remodeling territory that many clients choose to delegate.
4) Surfaces that work hard (tile, flooring, paint)
-
- Flooring: porcelain tile is durable; quality LVP works for lighter-use spaces. Dry-fit your layout first.
-
- Shower walls: keep lines dead-level; use spacers and a ledger board for clean courses.
-
- Grout & seal: sanded vs. unsanded based on joint; seal per manufacturer schedule.
-
- Paint: semi-gloss or dedicated bath paint resists moisture and wipes clean.
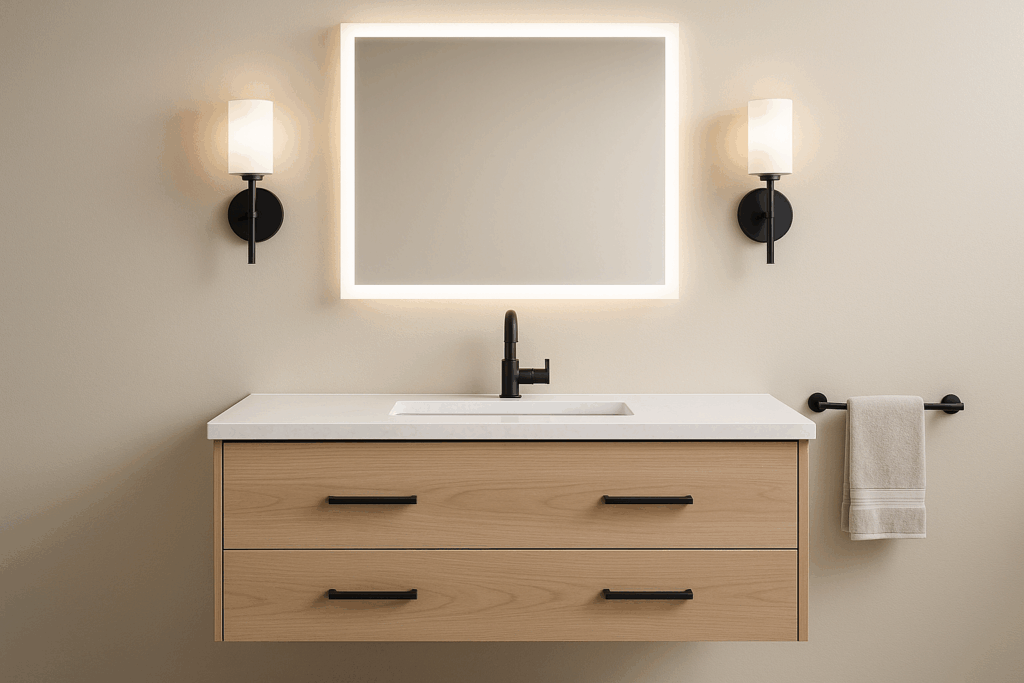
5) Vanity, lighting, hardware & final fixtures
-
- Vanity install: set, level, secure; then faucet/drain.
-
- Lighting layers: overhead + vanity + accent. Place switches logically (fan separate from lights).
-
- Toilet last: reduces the chance you chip it during tiling/trim.
-
- Finish trim & caulk: crisp lines = pro look.
-
- Furnish: mirrors sized to vanity, towel bars/hooks where hands reach, niche storage, shower rod/door, and a small rug for warmth.
DIY vs. Hire: a quick split for beginners
-
- Often DIY-safe: demo, paint, hardware, simple vanity swap, basic flooring in small baths.
-
- Call pros for: shower pans, waterproofing details, major plumbing/electrical moves, structural or subfloor repairs, custom glass.
-
- Hybrid approach: you do the easy wins; we handle the risk. That’s a practical path for a bathroom remodel diy or do it yourself bathroom remodel without costly do-overs.
If you’re new to this, our team can coach a diy bathroom remodel for beginners—where you handle demo/paint and we execute waterproofing and tile. Prefer a lighter lift? A scoped diy bathroom reno (materials you choose, installs we perform) keeps quality high. For checklists and costs, many clients ask about a diy bath remodel first, then scale up as needed.
Special notes: renovating a mobile home bathroom
-
- Weight & structure: tile adds weight—confirm floor rating and consider lighter finishes or smaller-format tile.
-
- Non-standard plumbing: traps and supply lines may differ; plan for adapters and shutoffs.
-
- Subfloor upgrades: OSB around toilets/showers often needs replacement—budget for it.
-
- Ventilation: smaller cavities need careful fan sizing to avoid moisture buildup.
Your step-by-step bathroom remodel checklist
-
- Order materials (tile, fixtures, vanity, fan, lighting)
-
- Demo & debris removal
-
- Rough plumbing + electrical
-
- Board + waterproof membranes
-
- Tile walls → tile floor → grout & seal
-
- Prime/paint
-
- Vanity/cabinets → mirror/medicine cabinet
-
- Lighting & switches
-
- Toilet, trim, caulk, accessories
-
- Clean, punch list, enjoy
This is also how we answer steps to remodel a bathroom during kickoff calls.
How to furnish a bathroom after the remodel
Right-size mirrors, layer lighting at face level, place towel bars/hooks where hands naturally reach, add niche or over-the-toilet storage, and finish with a soft rug or runner. This answers how to furnish a bathroom without clutter.
Real-world snapshots (composite examples for clarity)
-
- 5’×8′ hall bath, Midtown ABQ: kept tub, added alcove storage, retiled surround, swapped builder-grade vanity for 36″ with drawers. DIY demo/paint saved ~$1–2k; pro tile/waterproofing finished in 4 days.
-
- Small office restroom, Nob Hill: LVP floor, wall-hung sink, motion light/fan combo, matte-black hardware. 2-day turnaround minimized downtime.
Why Albuquerque homeowners and businesses choose Gami’s Constructors LLC
Gami’s Constructors LLC is a general contractor serving residential and commercial projects across Albuquerque and New Mexico. Bathroom services include design-build planning and budgeting, permit support, demo and disposal, plumbing/electrical coordination, waterproofing and tile, vanities/countertops, lighting/ventilation, glass and finishes, and mobile-home bathroom updates—the practical side of bathroom and remodeling that keeps timelines predictable.
Ready to move from “thinking about it” to “it’s done”?
If you’re weighing how to remodel a bathroom or comparing a diy bath remodel vs. full-service, we’ll map the plan, budget, and schedule with no pressure. Book a call or Contact Us for a clear, written proposal tailored to your space and timeline.