Quick Answer: The steps to make a house follow a predictable path: plan → permits → foundation → framing → rough-ins → insulation/drywall → finishes → final inspection → walkthrough. The details (and timeline) change based on your land, design choices, weather, and how fast decisions get made—but the core stages stay the same.
Before You Start: 7 Decisions That Control the Build
Most new-home stress comes from decisions that should’ve been made early (or at least discussed). Nail these down first, and your home construction process feels 10x smoother.
1) Build type: production, semi-custom, or custom
- Production: fastest, most standardized, limited personalization
- Semi-custom: a base plan with upgrades/options
- Custom: maximum flexibility, more design time and coordination
2) Your “must-haves” vs “nice-to-haves”
Write a simple priority list:
- Must-have: bedrooms/baths, office, garage size, single-story vs two-story
- Lifestyle: kitchen size, pantry, outdoor living, storage, laundry flow
- Future-proofing: aging-in-place features, wider doorways, extra blocking
3) Land realities (the stuff the listing doesn’t brag about)
Before you fall in love with a lot, confirm:
- Access to utilities (water/sewer or well/septic)
- Setbacks/easements and buildable footprint
- Drainage, slope, and soil conditions (huge for foundation planning)
4) Budget structure (not just a total number)
A realistic build budget includes:
- Hard costs: labor/materials to construct the house
- Soft costs: design, engineering, permits, surveys, inspections
- Site costs: grading, utility trenching, driveways, retaining walls
- Contingency: for surprises and upgrades you’ll absolutely want
5) Your decision-making speed
This sounds small… it’s not. Slow selections create delays:
- Cabinets, flooring, tile, plumbing fixtures, lighting, paint
- Windows/doors, exterior finish (stucco/brick/siding), roofing
6) Who is managing the project day-to-day?
A residential construction project needs:
- A builder/GC (general contractor)
- Subs (foundation, framing, plumbing, electrical, HVAC, etc.)
- Scheduling, inspections, material coordination, and quality checks
7) Communication rules (yes, set these up early)
Agree on:
- How often you’ll get updates
- How changes are requested/approved (change orders)
- Who signs off on selections and timeline shifts
If you’re building locally, working with a qualified Albuquerque general contractor like Gami’s Constructors LLC can simplify permits, scheduling, and inspections because they already know the local workflow.
House Construction Steps: The Full Process (Dirt to Keys)
Below is the house construction step by step flow most builds follow. Think of it like a relay race—each stage sets up the next, and skipping steps usually backfires later.
Step 1: Planning, design, and engineering
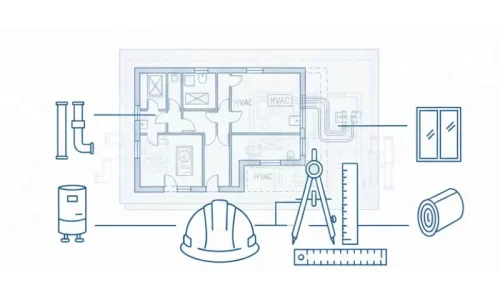
This is where your “idea” becomes a buildable plan:
- Floor plan + elevations
- Structural engineering (where required)
- Mechanical planning (HVAC layout, major plumbing/electrical routes)
- Initial energy-efficiency choices (windows, insulation approach, etc.)
Pro tip: Decide early where big systems go (water heater, HVAC unit, electrical panel). Moving them later can be expensive.
Step 2: Permits, approvals, and pre-construction setup
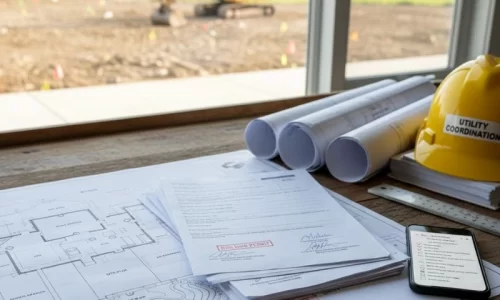
Before physical construction begins, you typically need:
- Building permits and plan approvals
- Utility coordination
- Site plan confirmation (setbacks, grading plan, drainage plan)
Owner move: Ask for a simple pre-construction checklist so you know what must happen before the first excavation.
Step 3: Site prep and layout
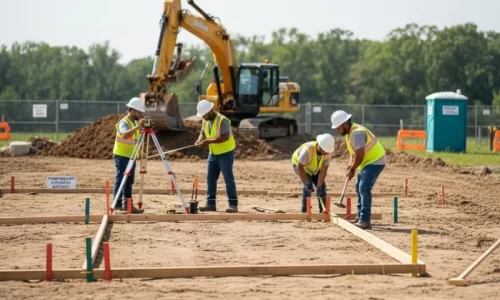
Now the lot becomes a job site:
- Clearing and rough grading
- Stakeout/layout (marking corners and footprint)
- Temporary utilities, staging, access setup
What to watch: Drainage direction and elevation changes—small errors here can cause big water problems later.
Step 4: Foundation (footings + slab/crawl/basement)
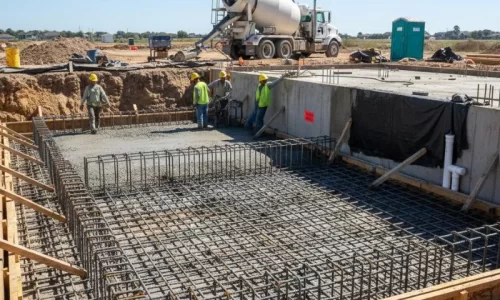
This is one of the most critical phases in the construction of a new home:
- Excavation for footings
- Rebar/formwork
- Pouring concrete
- Cure time
- Waterproofing/dampproofing (as required)
- Underground plumbing or sleeves (before slab, depending on design)
Checkpoint: Foundation inspections usually happen around this stage, and passing them keeps the timeline moving.
Step 5: Framing (the house takes shape)
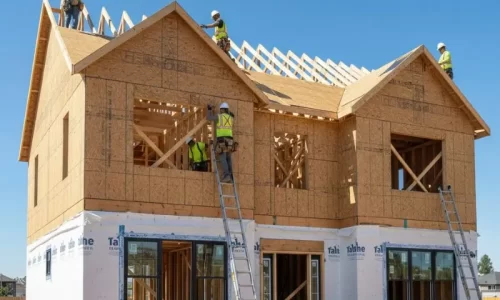
This is when it finally looks like a home:
- Floor system, wall framing, roof framing
- Sheathing (walls/roof)
- Windows and exterior doors installed (often here)
- House wrap/weather barrier
Once the roof is on and openings are protected, builders often call it “dried in.” That’s a major milestone.
Step 6: Rough-ins (plumbing, electrical, HVAC)
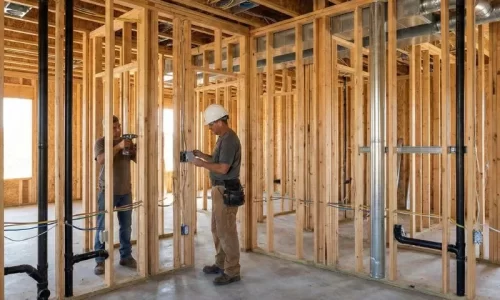
This is the “behind the walls” stage:
- Plumbing supply + drains + venting
- Electrical wiring + panel setup + outlet/switch runs
- HVAC ducts/vents + equipment prep
- Low-voltage (internet, security, speakers) if planned
Important: Inspections often occur here (rough plumbing, rough electrical, framing/mechanical). If something fails, it can pause multiple trades, so accuracy matters.
Step 7: Insulation + air sealing
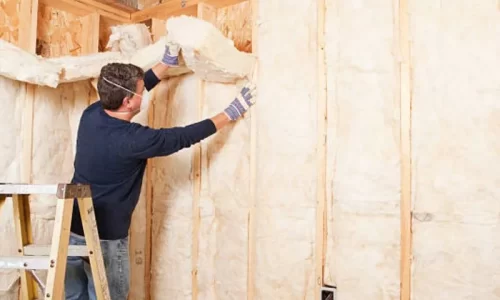
Comfort and energy bills are shaped here:
- Insulation in walls/attic (type depends on design and goals)
- Air sealing around penetrations
- Ventilation planning (especially important in tighter homes)
Real talk: A beautiful home can still feel drafty if air sealing is sloppy. This stage is worth attention.
Step 8: Drywall + interior surfaces
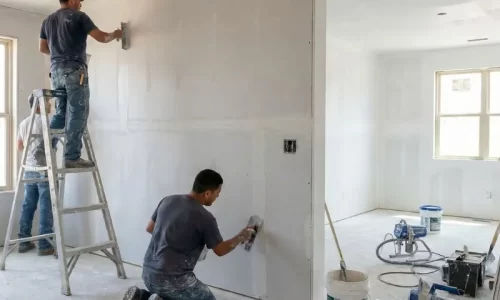
Now everything speeds up visually:
- Hang drywall, tape, texture (if used)
- Prime and paint begins
- Interior doors and trim start (timing varies)
Step 9: Interior finishes (the “make it yours” phase)
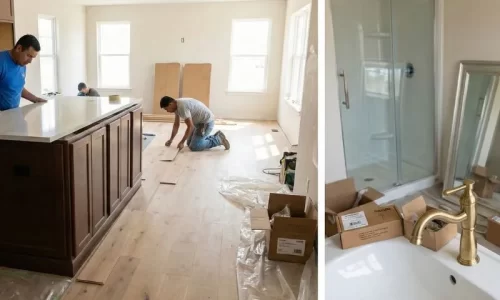
This is where your selections show up:
- Cabinets and countertops
- Flooring (tile, vinyl, wood, carpet—often staged)
- Plumbing fixtures and faucets
- Light fixtures, switches, outlets
- Bathroom finishes (shower glass, mirrors)
Tip: Keep a “selection sheet” (brand/model/color) so you don’t get surprises or substitutions.
Step 10: Exterior finishes + grading + landscaping
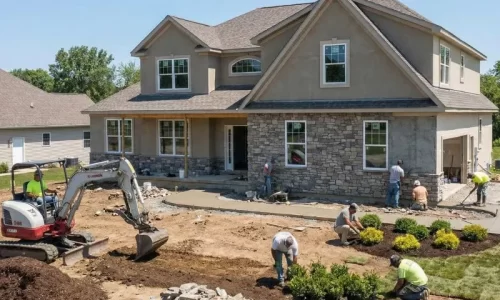
Often overlaps with interior work:
- Stucco/siding/brick/stone (depending on plan)
- Driveway/walkways
- Final grading for drainage
- Landscaping and irrigation (if included)
Step 11: Final inspections + certificate of occupancy
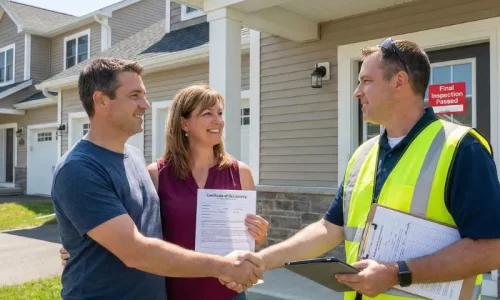
A final inspection checks that the house is safe and code-compliant. When everything passes, you can move toward occupancy.
Step 12: Final walkthrough + punch list
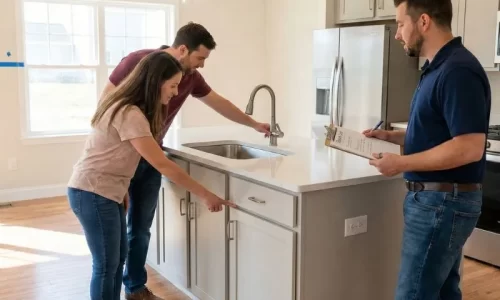
The walkthrough is where you:
- Test doors/windows, fixtures, outlets, HVAC operation
- Inspect finishes (paint, trim, flooring, countertops)
- Create a punch list of items to correct before move-in
You can also read: How Much Does It Cost to Renovate a House?
Home Building Timeline: How Long Each Stage Usually Takes
A typical home building timeline depends on size, complexity, supply chain, and inspection scheduling. Instead of promising a single number, use this more reliable way to think about timing:
- Pre-construction: design + permits + selections (often the longest “invisible” phase)
- Structure: foundation + framing (weather-sensitive)
- Systems: rough-ins + inspections (coordination-heavy)
- Finish work: drywall + interiors + exterior completion (decision-heavy)
Best way to stay on schedule: make selections early, respond quickly to questions, and avoid mid-stream layout changes.
Costs / Pricing: What Drives New Home Construction Cost
Pricing for the construction of a house can vary widely—even within the same neighborhood. Here are the biggest cost drivers (in plain English):
1) Site work surprises
The lot can be the silent budget-killer:
- Grading and drainage work
- Utility trenching distance
- Soil conditions and foundation requirements
- Retaining walls, access challenges
2) Size and complexity
Two homes with the same square footage can cost very differently:
- Multiple rooflines, tall ceilings, lots of corners
- Bigger spans requiring engineered beams
- More bathrooms and wet areas (plumbing costs add up)
3) Finish level (where budgets really swing)
Choices that move cost quickly:
- Cabinets and countertops
- Flooring materials
- Window packages
- Tile work and custom showers
- Specialty lighting
4) Mechanical and efficiency upgrades
- HVAC sizing and zoning
- Insulation approach and air sealing
- Smart home wiring, EV charging prep, solar readiness
5) Change orders
Changing plans after framing (or during finishes) usually costs more than people expect—because you’re paying for rework and schedule disruptions.
Budget move: Ask your builder for a transparent allowance list (what’s included vs what’s an upgrade).
DIY vs Hire a Pro: What You Can Realistically Do Yourself
If your goal is to save money, DIY can help—but only in the right lanes.
DIY-friendly (for many homeowners)
- Painting (after drywall is finished)
- Simple landscaping (plants, mulch, rock—if you know drainage needs)
- Hardware installs (towel bars, cabinet pulls)
- Closet shelving, minor storage solutions
Usually best left to licensed pros
- Electrical work and panel changes
- Plumbing rough-ins and gas lines
- HVAC and ductwork
- Structural changes (walls, beams, foundation)
- Waterproofing systems and roof work
Rule of thumb: If it affects safety, code compliance, or “behind-the-walls” systems—hire a pro.
Quality Checks & Inspections: How to Prevent Expensive Surprises
Inspections are not just red tape—they’re your safety net.
Smart checkpoints to do (even if you trust your builder)
- Pre-pour foundation check: layout, rebar, plumbing sleeves, elevations
- Pre-drywall walkthrough: confirm wiring locations, plumbing lines, HVAC runs
- Before final: test outlets, windows, doors, drains, HVAC airflow
Consider a third-party inspection (optional but helpful)
A private inspector can catch issues early—when fixing them is cheaper and simpler.
Pro tip: Take photos of framing + rough-ins. Later, when you want to mount a TV or add shelving, those photos save time.
Albuquerque, NM Tips for New Home Construction
If you’re building in Albuquerque, New Mexico, these local-minded considerations can help:
- Sun and heat: prioritize window placement, shading, and insulation strategy for comfort
- Wind and dust: tighter building envelope details reduce drafts and dust intrusion
- Drainage planning: monsoon-style downpours make grading and runoff control important
- Material choices: exterior finishes should fit the climate and maintenance expectations
A local team like Gami’s Constructors LLC can help you navigate permit steps, jobsite coordination, and trade scheduling in the Albuquerque area—especially if you’re building your first home and want the process explained clearly.
Mistakes to Avoid During the House Building Process
Here are the most common (and expensive) missteps homeowners make when building a new home:
- Buying land before understanding buildability
- Starting permits too late (or assuming they’re “quick everywhere”)
- Not finalizing selections early (creates delays and rushed choices)
- Changing layouts after framing (change orders + rework)
- Skipping pre-drywall review (you won’t see those systems again easily)
- Ignoring drainage and grading (water problems can haunt a home)
- Not documenting everything (emails, selections, approvals, punch list items)
- Underestimating “soft costs” like design and engineering
- Not planning storage and mechanical space (regret shows up fast)
Rushing the final walkthrough (that’s when details get missed)
FAQs
Planning/design, permits, site prep, foundation, framing, rough-ins, insulation/drywall, finishes, final inspection, and walkthrough.
Start with a clear budget, choose buildable land, hire a reputable builder/GC, and follow a structured home building process with checkpoints and inspections.
It depends on permits, weather, materials, and decision speed. The most reliable approach is to get a stage-by-stage timeline from your builder.
Foundation and “behind-the-walls” work (framing + rough-ins) are the most critical—mistakes there are hardest to fix later.
It depends on land cost, design choices, and local market prices. Building gives customization; buying can be faster and more predictable.
Sometimes, but it’s risky without experience. Scheduling trades, passing inspections, and managing change orders can quickly outweigh savings.
They’re similar everywhere—planning, permits, foundation, framing, rough-ins, insulation/drywall, finishes, inspections—but local permitting and climate considerations can affect timing.
Conclusion
Building a new home feels overwhelming until you see it as a series of clear, repeatable stages. If you keep decisions organized, respect inspections, and treat “behind-the-walls” quality like the priority it is, the house construction process becomes a lot less stressful—and the final result is something you’ll feel good about for years.
If you’re planning a new home build in Albuquerque, consider talking with Gami’s Constructors LLC to review your lot, your plan, and the realistic steps (and timeline) needed to move from idea → permits → construction → keys.